MintHCM Installation Guide
Manual installation
Docker
Command Line Interface
Requirements
Before installing MintHCM, ensure that your system meets the following requirements:
- Web Server:
- Linux or Windows machine running Apache2
- PHP:
- 8.2
- Database (one of the following):
- MySQL 8.0
- MariaDB 10.5, 10.6, 10.10, 10.11
- ElasticSearch:
- 7.9
Apache2 Configuration
- Required Modules: Rewrite and Headers
- AllowOverride: Ensure that AllowOverride All is set within the <Directory> directive for MintHCM in your Apache configuration. This allows the use of .htaccess files for additional configuration.
For example:
<VirtualHost *:80>
    DocumentRoot /var/www/minthcm

    <Directory /var/www/minthcm>
        Options Indexes FollowSymLinks
        AllowOverride All
        Require all granted
    </Directory>

    # ... other configurations ...

</VirtualHost>
Browser Compatibility
MintHCM offers a user-friendly interface accessible through the following web browsers:
- Chromium
- Firefox
- Edge
While we strive to provide the best user experience on these browsers, Internet Explorer (IE) is not supported. However, you are welcome to test and use it at your discretion.
Getting Started
Download MintHCM
Download the latest release of MintHCM zip file.
Copy the zip file to your server
Copy the downloaded zip file to your server using your preferred method (e.g., SCP, FTP).
Unzip the files
Navigate to the directory where you want to install MintHCM and unzip the downloaded file.
cd /path/to/your/MintHCMdirectory
unzip MintHCM.zip
Change file permissions
Adjust file permissions based on your platform’s requirements. For example, on Ubuntu Linux with Apache, use the following commands:
cd /path/to/your/MintHCMdirectory
sudo chown -R www-data:www-data .
sudo chmod -R 755 .
Note: Replace www-data:www-data with the actual user and group on your server if they differ from Linux/Apache defaults. This ensures proper ownership and permissions for MintHCM files.
If you are using CLI installation method, you can run the command now.
Installation Process
Open the Installation Wizard
Open your web browser and enter the following URL to initiate the installation wizard:
https://my-server-or-domain.com/my-minthcm-directory
The installation wizard will commence automatically, guiding you through the setup process. Follow the on-screen instructions to configure MintHCM for your environment.
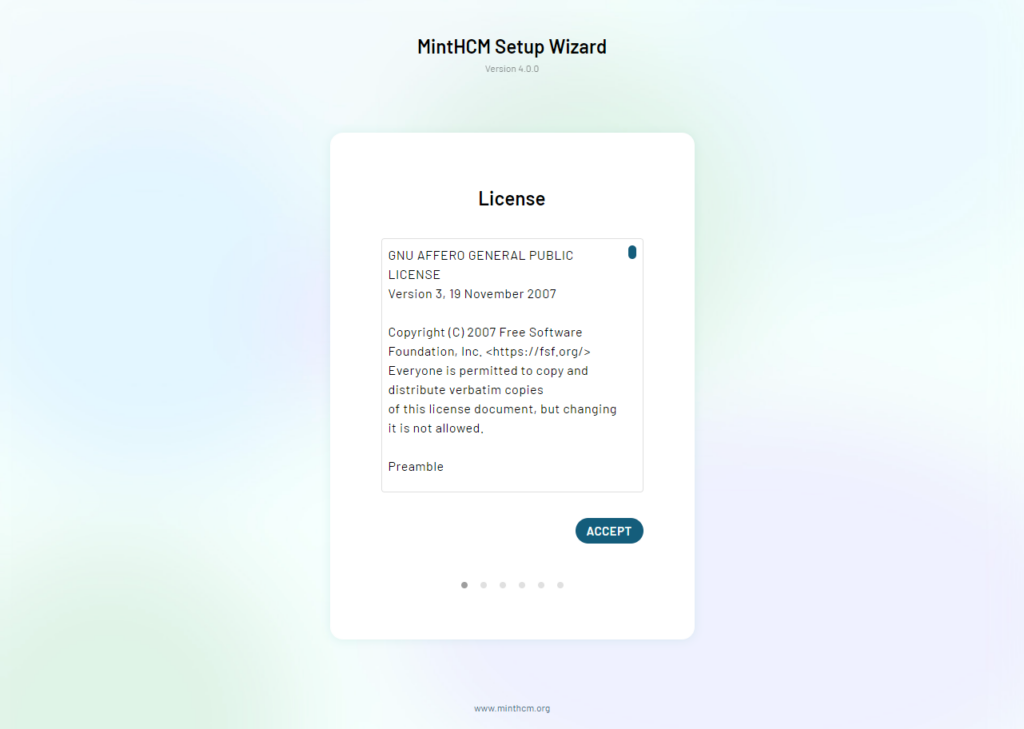
1. Accept the License Agreement
On the first screen, you need to accept the license agreement. After that, you can click the “Next” button.
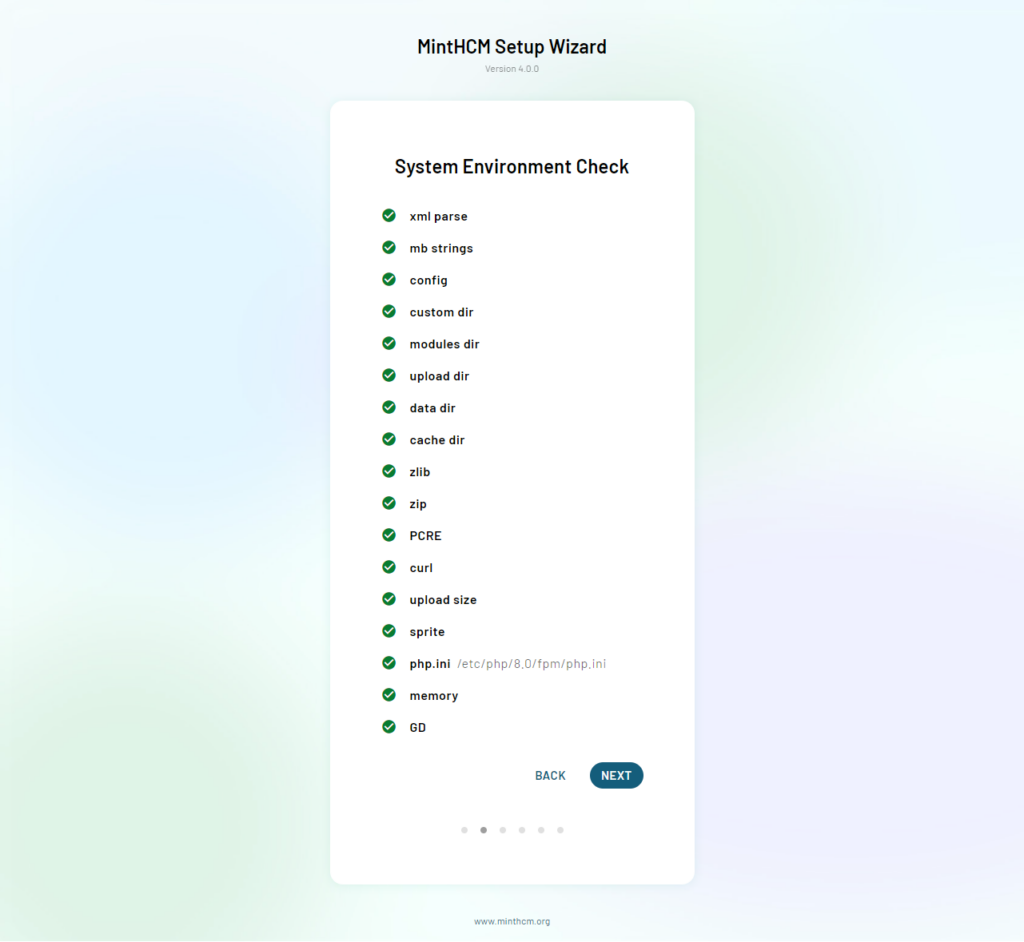
2. System Environment Check
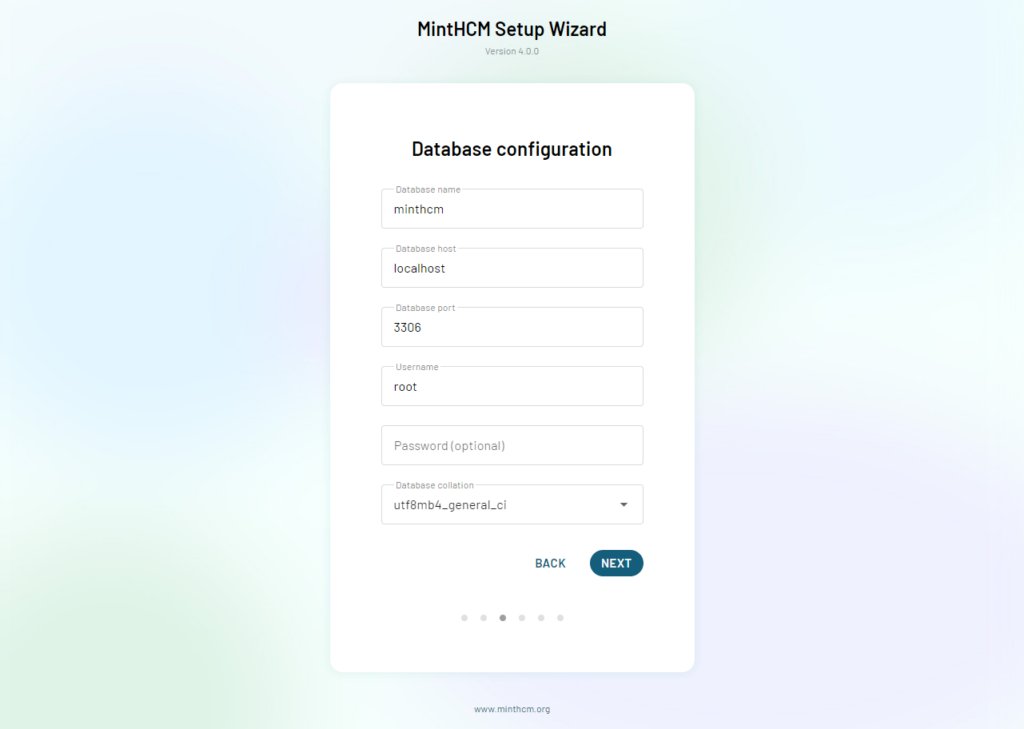
3. Database Configuration
On this screen, you’ll provide essential database configuration details and administrator user data. Follow these steps:
Host Name:
- If the database and MintHCM are on the same server, enter ‘localhost’ in the Host Name field.
- If the database is on a different server, enter the hostname or IP address of the database server in the Host Name field.
Database User:
- The MintHCM Database User is set to ‘root’ by default. If you prefer to use another user, update this field accordingly.
Note:
- If you are unsure about the database server’s hostname or IP address, consult your server administrator or hosting provider.
- Choosing a secure and unique Database User is recommended for enhanced security.
Once you’ve entered the necessary information, proceed to the next step in the installation process.
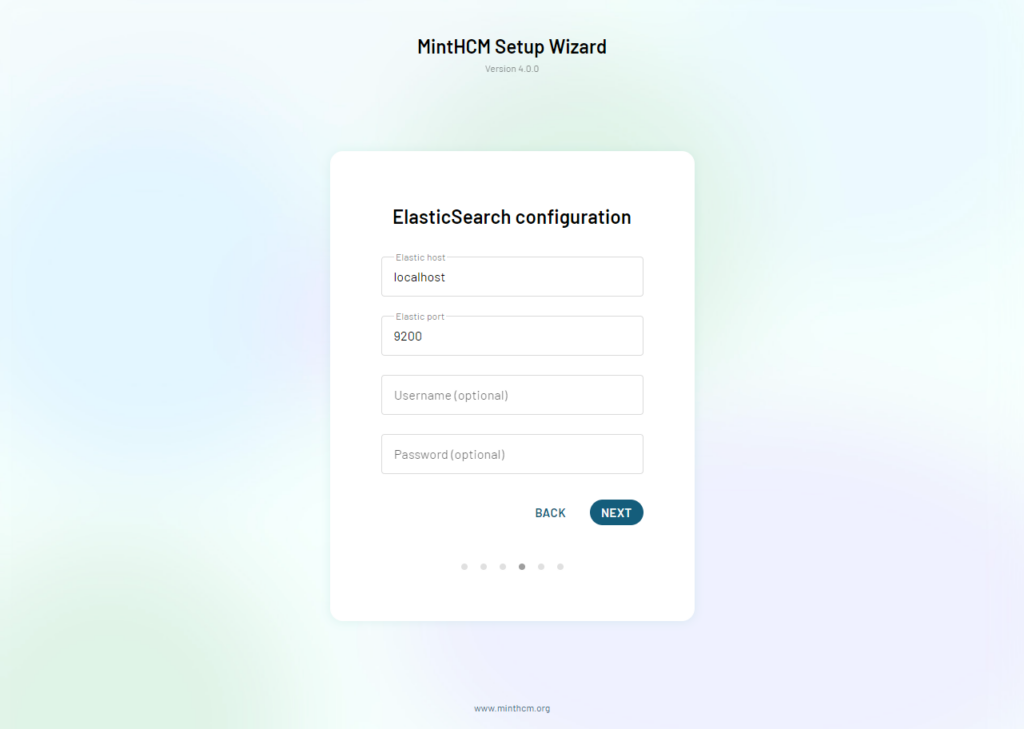
4. ElasticSearch Connection
Configure your ElasticSearch connection (make sure that it’s running) to enable MintHCM to display data in lists and in the Global Search feature.
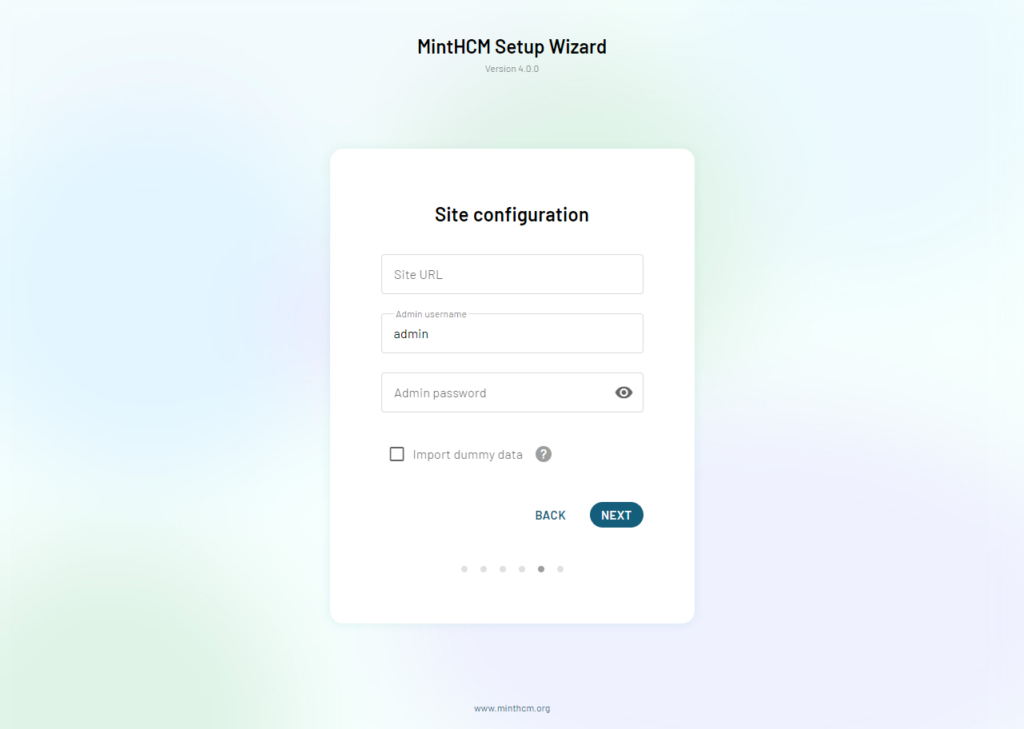
5. Site Configuration
- SiteURL (Optional):
- Optionally, you can change the prefilled SiteURL field if you decide to run MintHCM in a custom directory. This is useful if MintHCM is not installed in the root directory of your web server.
- Create a username and password for your administrator account.
- Populate with Dummy Data (Optional):
- Decide whether you want your Mint installation to be populated with dummy data for demonstration purposes. This can be helpful for testing and exploring MintHCM features.
After configuring the administrator username and password, proceed to the next step in the installation process.
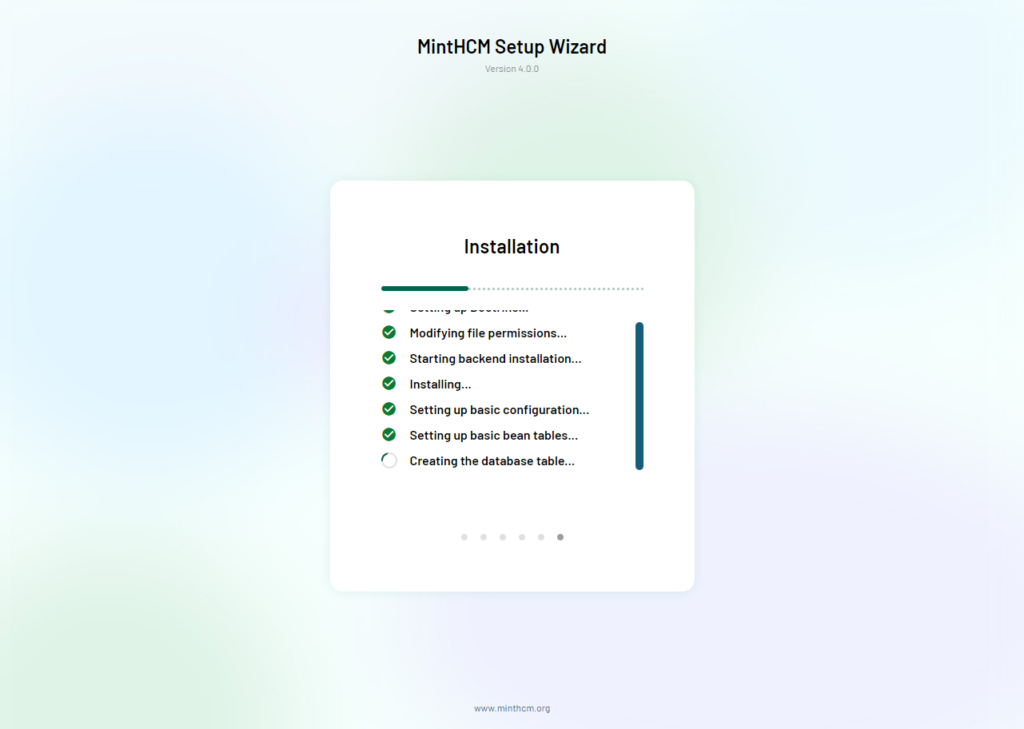
6. Installation
If all the provided data is correct, the installation process will begin. Please be patient as this may take a few minutes.
Note:
- During this phase, MintHCM is configuring and setting up the necessary components. The duration may vary based on server resources and network conditions.
- Avoid interrupting the installation process to ensure a successful setup.
Once the installation is completed, you will proceed to the next step in the process.
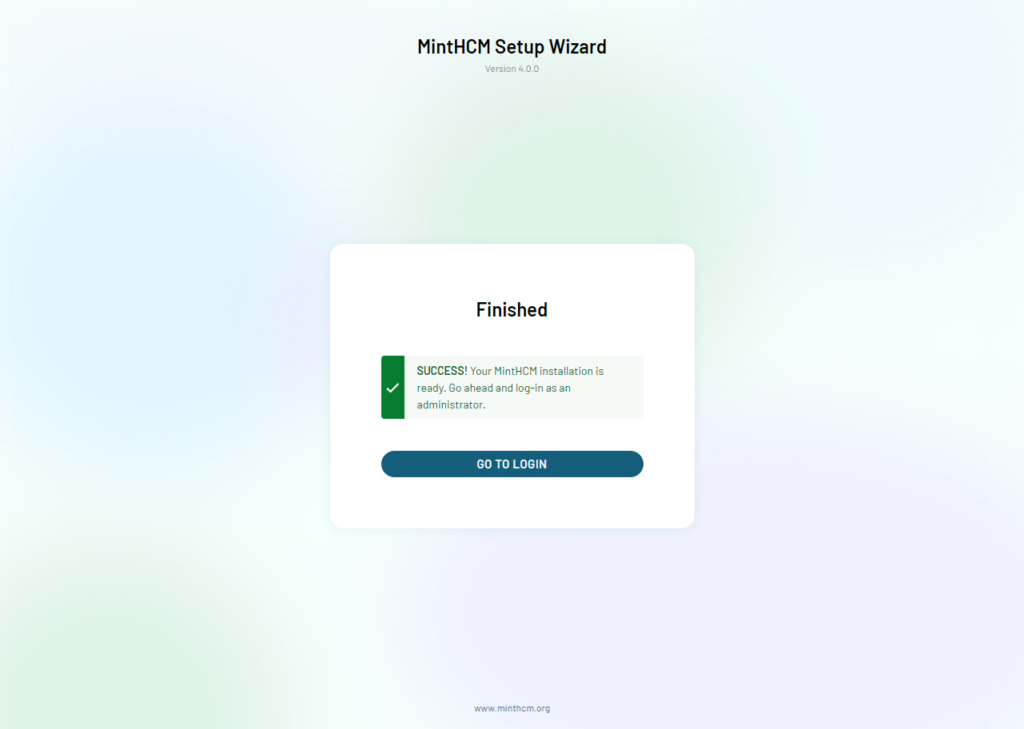
7. Completion
The installation is now complete, and you can log in as an administrator using the username and password you set up earlier.
8. Adding Crontab for MintHCM
After completing the installation, it’s crucial to set up a Crontab to enable MintHCM to run background tasks, especially for indexing data to ElasticSearch. Follow these steps to add a Crontab entry:
- Open the Crontab Editor:
sudo crontab -e -u www-data # Use the actual user if not www-data
- Add the Crontab Entry:
* * * * * cd /var/www/<dir_to_your_instance>/legacy; php -f cron.php > /dev/null 2>&1
This line schedules the execution of the MintHCM background tasks every minute.
- Note:
- Adjust the path /var/www/<dir_to_your_instance>/legacy to the actual path where your MintHCM instance is installed.
- Ensure that the user specified (e.g., www-data) has the necessary permissions to execute the Crontab entry.
After adding the Crontab entry, MintHCM will automatically run background tasks, including data indexing to ElasticSearch.
- Additional Information:
- You can find information about Crontab setup in the Schedulers section of the Administration panel within MintHCM after installation.
- Note for Windows or Other Systems:
- Windows and other operating systems may have different mechanisms for managing background processes. Refer to the respective documentation for your system.
And… we’re done!
You can go ahead and start using your Mint installation. For help regarding system configuration please visit the MintHCM Wiki page: https://wiki.minthcm.org/index.php?title=Process:System_configuration
This guide covers the installation process for MintHCM version 4.x onwards.
For instructions for previous releases please visit MintHCM 3.x Installation Guide
For instructions how to upgrade MintHCM 3.v to MintHCM 4.v visit Upgrade your MintHCM
For instructions for getting started with MintHCM’s mobile app visit Mint Mobile Configuration Guide
If you are interested in commercial implementation of MintHCM in your organisation, make sure to check out minthcm.com

